






Salesforce Dev Account Setup: Low-Code API Integration
Set up a free Salesforce Developer Edition account and learn what you can (and cannot) automate via API or CLI, plus how to connect it to a database.
- Author
- Ruben Burdin · Founder & CEO
- Published
- Updated
- Read time
- 7 min read

A Salesforce Developer account is essential for any team looking to build and test integrations in a safe, sandboxed environment. Before connecting Salesforce to your databases or other business-critical applications, you need a place to experiment without risk.
This is where low-code API integration shines, offering a way to connect systems with impressive speed and simplicity, freeing your team without needing months of custom coding.
This article provides a clear, step-by-step guide on how to complete your Salesforce developer account setup, plus a straight answer to a question a lot of teams ask next: can you skip the web form entirely and provision an org via API or CLI?
Why You Need a Salesforce Developer Account
What is a Salesforce Developer Edition?
A Salesforce Developer account, also known as a Developer Edition or Dev Org, is a free, fully-featured environment designed for developers and administrators [1]. It provides a complete instance of the Salesforce platform where you can build custom applications, learn new features, and experiment with APIs without affecting your company's live production organization. It’s an isolated and safe playground for innovation. While it's a lifetime account, it does come with limitations, such as a 200MB data storage cap, making it ideal for development and testing rather than for hosting large datasets [1].
Benefits for API Integration
A dev account is the perfect place to test low-code API integrations. Attempting to build connections directly in your live production environment is risky and can lead to data errors or system downtime. The Developer Edition eliminates that risk entirely.
Key benefits include:
- Risk-Free Testing: Confidently test data syncs and automated workflows without any danger to your operational data.
- Full API Access: Get access to the same powerful Salesforce APIs you would use in a paid environment, allowing you to build and validate real-world integrations [2].
- No Cost to Start: Creating a Developer Edition account is free, making it the ideal starting point for connecting Salesforce with your other business applications.
Salesforce Editions and Pricing
The free Developer Edition is not a stripped-down trial: it runs on the same API surface as a paid Enterprise org, which is exactly what makes it useful for integration testing before you commit to a paid tier.
| Edition | Price | Best for |
|---|---|---|
| Developer Edition | Free, forever | Testing integrations and building on the platform |
| Essentials | $25/user/month | Small teams, basic CRM |
| Professional | $75/user/month | More customization and automation |
| Enterprise | $150/user/month | Full API access, advanced integration options |
| Unlimited | $300/user/month | Unlimited customization, no feature caps |
Salesforce edition pricing (per user, billed annually) as of 2026. Developer Edition mirrors Enterprise-level API access.
Step-by-Step: Your Salesforce Developer Account Setup
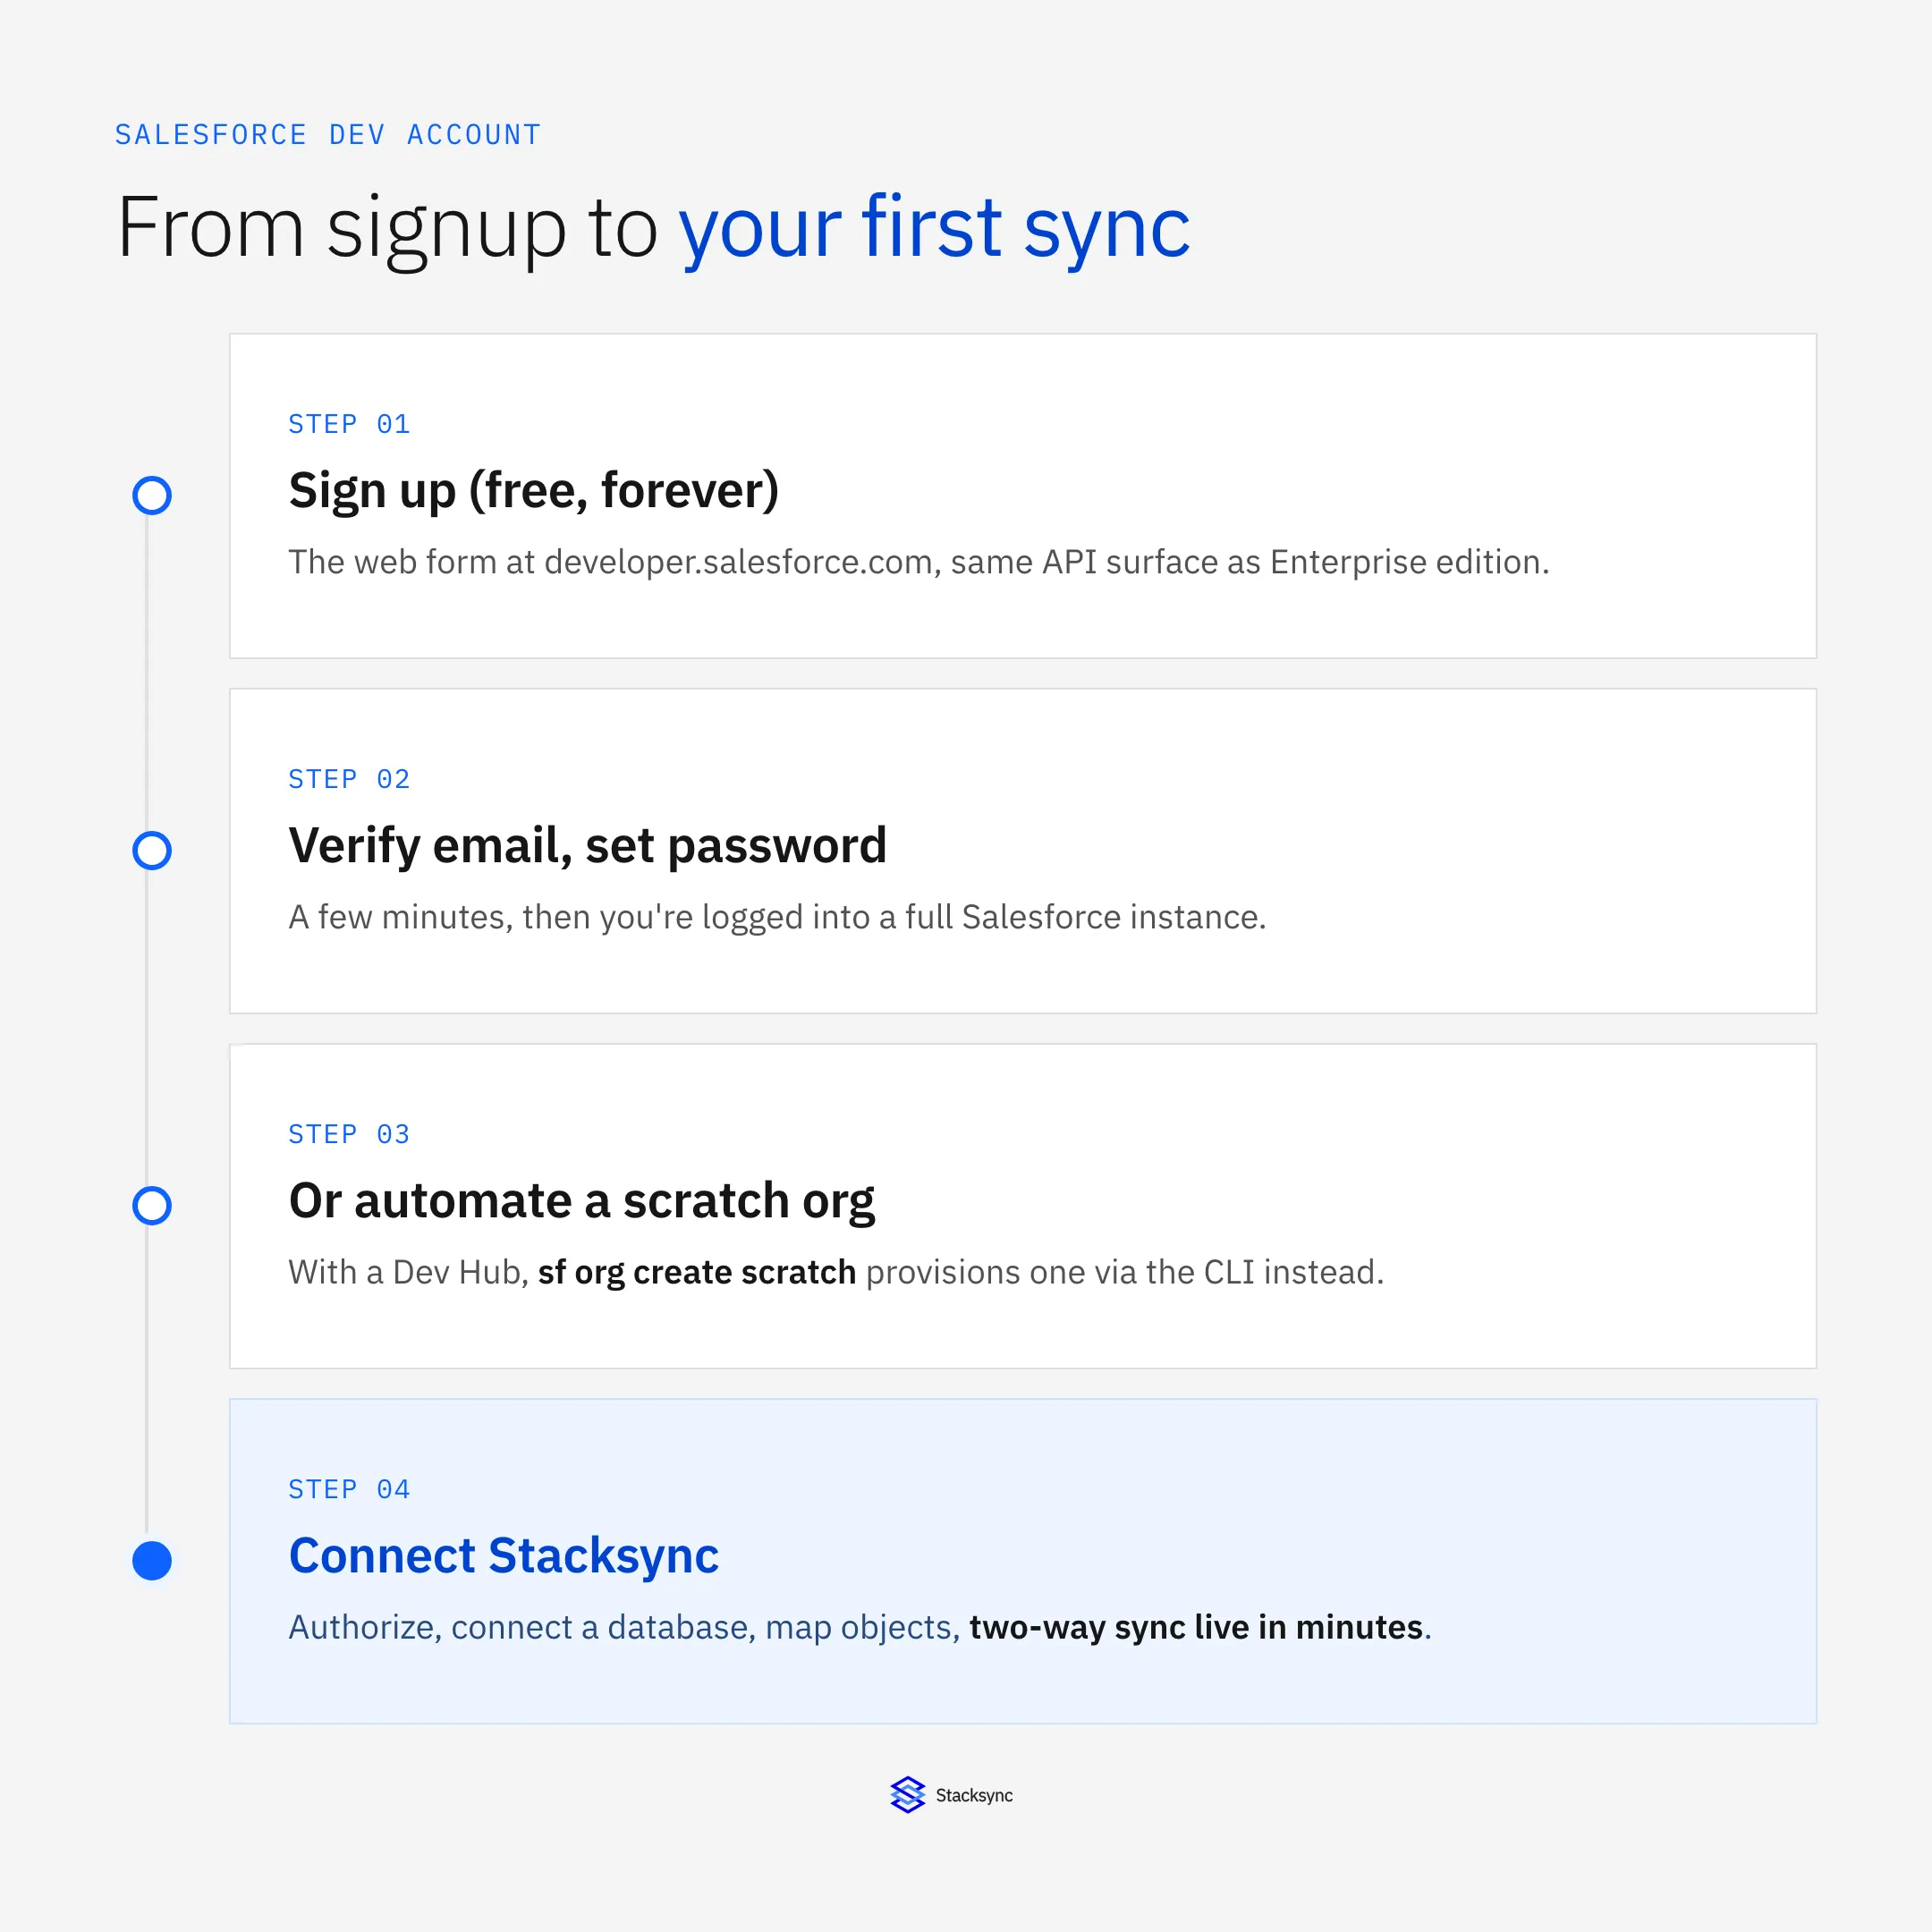
Creating your account is a straightforward process that takes only a few minutes. This section will walk you through each step with clear instructions so you can get your environment up and running quickly.
Step 1: Sign Up for a Free Developer Account
First, go to the official Salesforce developer signup page to get started with the latest Developer Edition, which includes powerful tools like Agentforce and Data Cloud [3].
- Fill out the registration form with your details, including your name, email, role, and company.
- Choose a unique username in an email format (e.g.,
you@company.dev). This username must be unique across all Salesforce instances, so you may need to be creative. - Read and check the box to accept the Master Subscription Agreement, then click "Sign me up."
Step 2: Verify Your Email and Create a Password
After you submit the form, Salesforce will send a verification email to the address you provided.
- Open the email from Salesforce and click the Verify Account link.
- This link will take you to a new page where you can set a secure password for your account.
- Create a strong password, confirm it, and save it in a secure location.
Step 3: Log In and Access Your Salesforce Instance
Once your password is set, you will be automatically logged into your new Salesforce developer instance. The URL will look something like yourcompany-dev-ed.develop.lightning.force.com. We recommend bookmarking this URL for easy access in the future.
Your developer org is now ready to use. For a more detailed walkthrough of navigating the interface for the first time, you can follow our guide to Create a Salesforce Developer instance (free forever).
Can You Automate Salesforce Developer Account Creation via API or CLI?
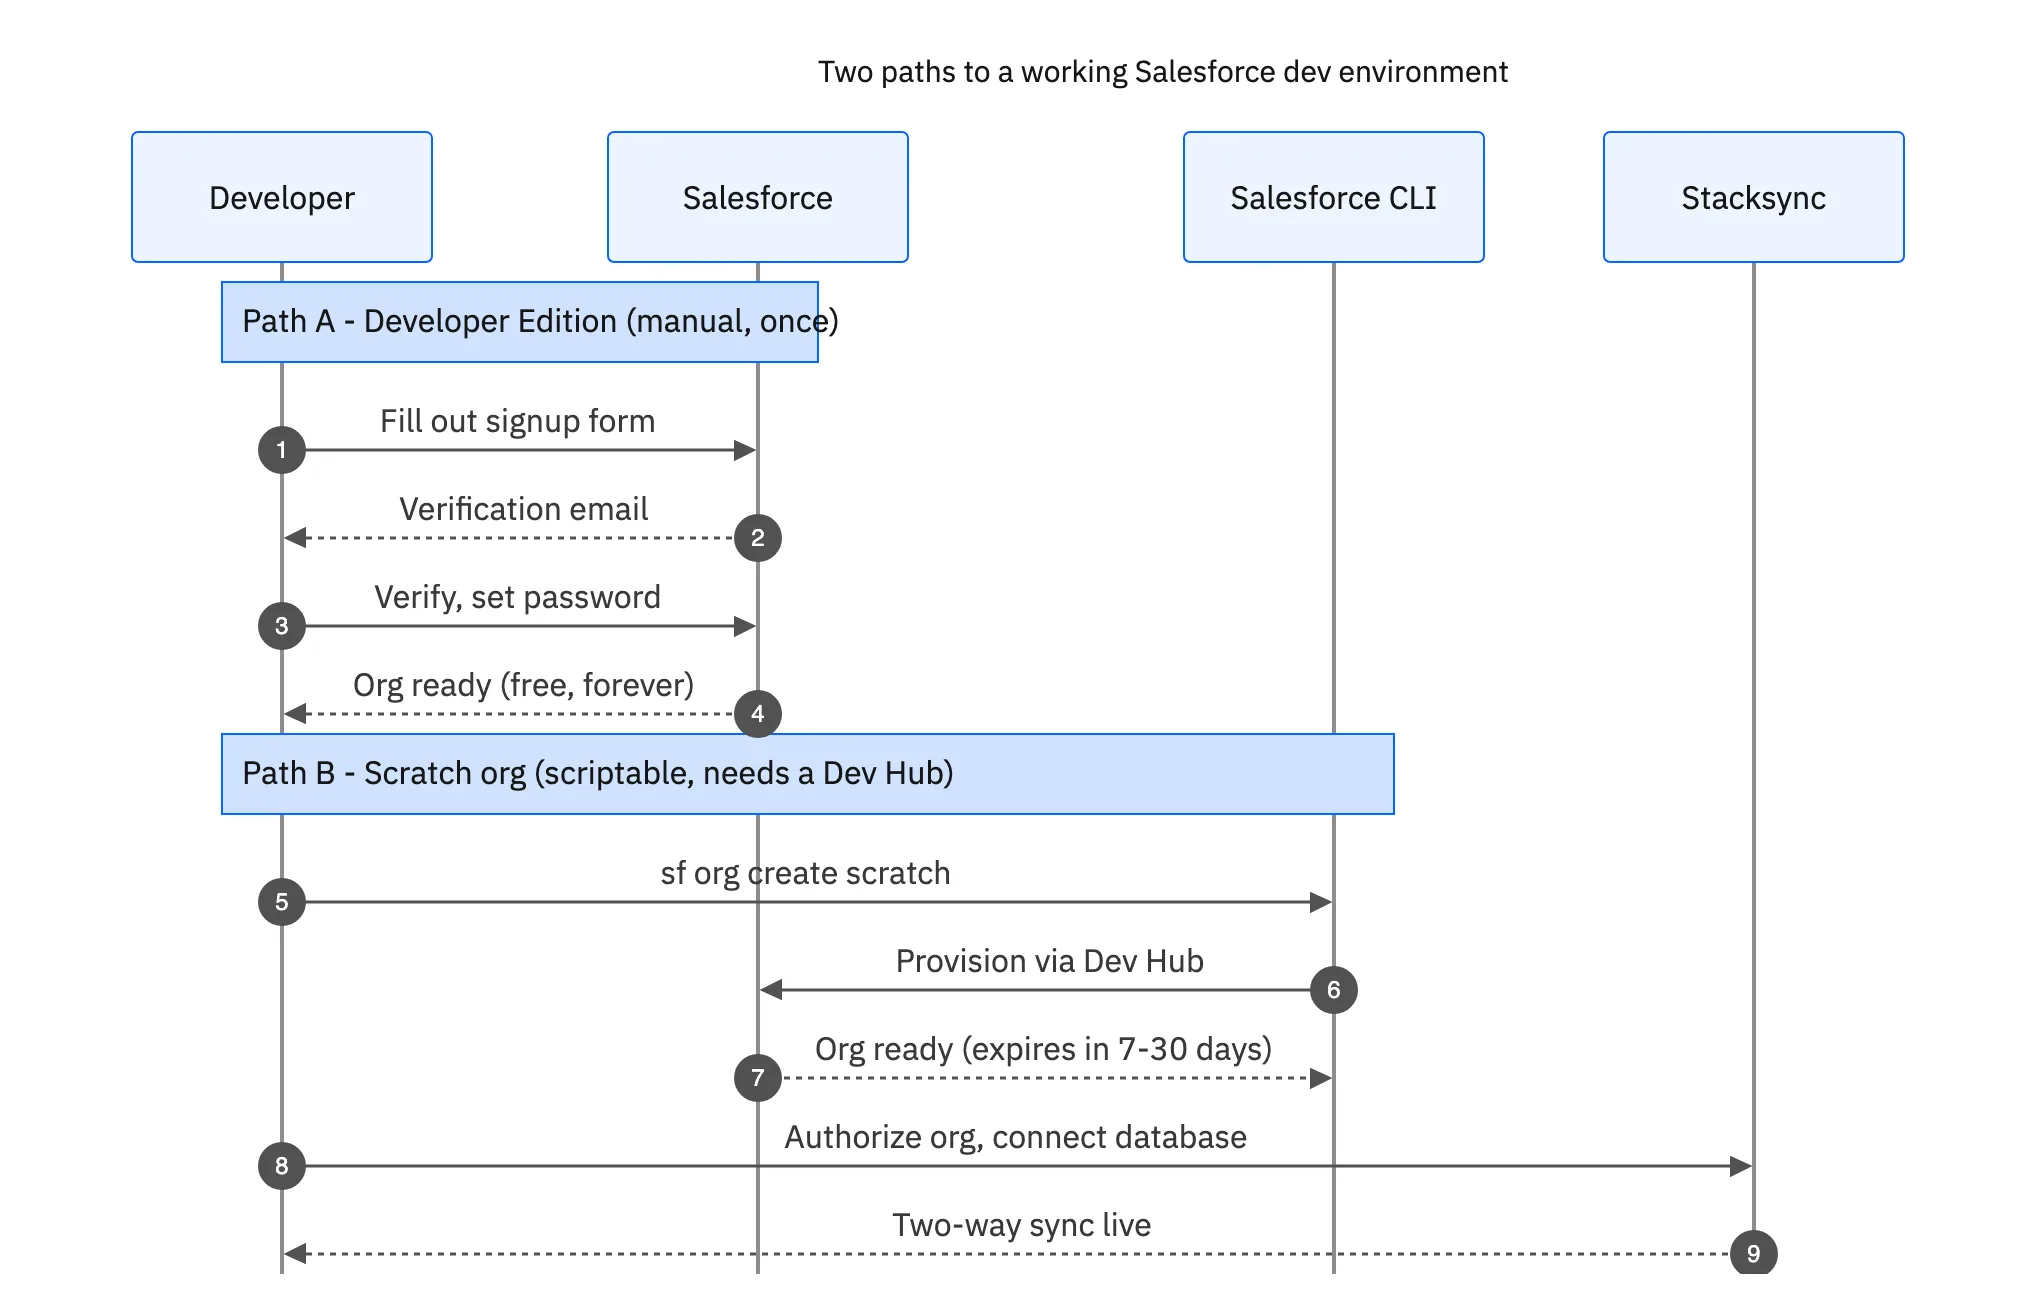
Short answer: not the free Developer Edition signup itself. The form at developer.salesforce.com/signup is protected by CAPTCHA and email verification specifically to stop automated account creation, so there is no supported endpoint or curl command that provisions one for you.
What you can automate depends on what you already have access to:
- Scratch orgs (Salesforce CLI): if you have a Dev Hub-enabled org (any Enterprise, Unlimited, or Performance edition, or a free Trailhead Dev Hub), you can spin up disposable scratch orgs programmatically with the Salesforce CLI. This is the closest thing to an "API for org creation" Salesforce ships.
- Sandboxes (Metadata API / Tooling API): if you already have a production or Enterprise org, you can create and refresh sandboxes through the Metadata API instead of the Setup UI, which is scriptable in CI pipelines.
- Developer Edition (manual, one-time): still requires the web form. Some teams script the post-signup steps (enabling API access, generating a Connected App, storing the security token) even though the signup itself stays manual.
Creating a Scratch Org with the Salesforce CLI
Once you have a Dev Hub, a scratch org is one command away:
sf org login web --set-default-dev-hub --alias myhub
sf org create scratch --target-dev-hub myhub --definition-file config/project-scratch-def.json --alias my-scratch --duration-days 30
Scratch orgs are ephemeral (they expire, by default in 7 to 30 days) and source-driven, which makes them a good fit for CI test runs, not for a persistent integration sandbox. For a long-lived environment to build and test a Salesforce-to-database sync against, the free Developer Edition is still the simpler choice, it just has to be created once, by hand.
Unlocking the Power of Low-Code API Integration
What is Low-Code?
Low-code platforms are tools that enable users to build applications and integrations with minimal hand-coding. Instead of writing code from scratch, you use visual interfaces and pre-built components to create powerful software solutions [4].
This approach dramatically speeds up development and allows business users to participate in building the solutions they need. The key tradeoff is that while you gain speed, you trade some of the granular control offered by pure code, making it crucial to choose a platform that is flexible enough for your specific use cases.
Why It Matters for Salesforce
Low-code platforms are a meaningful shift for connecting Salesforce with other critical business systems like databases (Postgres, MySQL), ERPs (NetSuite, SAP), and other SaaS apps. Instead of dedicating engineering resources to building and maintaining brittle, custom-coded APIs, you can use a low-code solution to accomplish the task in hours. This results in a faster time-to-market, reduced reliance on overstretched developer teams, and significant gains in operational efficiency. As organizations look to simplify processes, many are turning to the top low-code integration platforms for 2025 operations.

Your First Integration: Connecting Salesforce with Stacksync
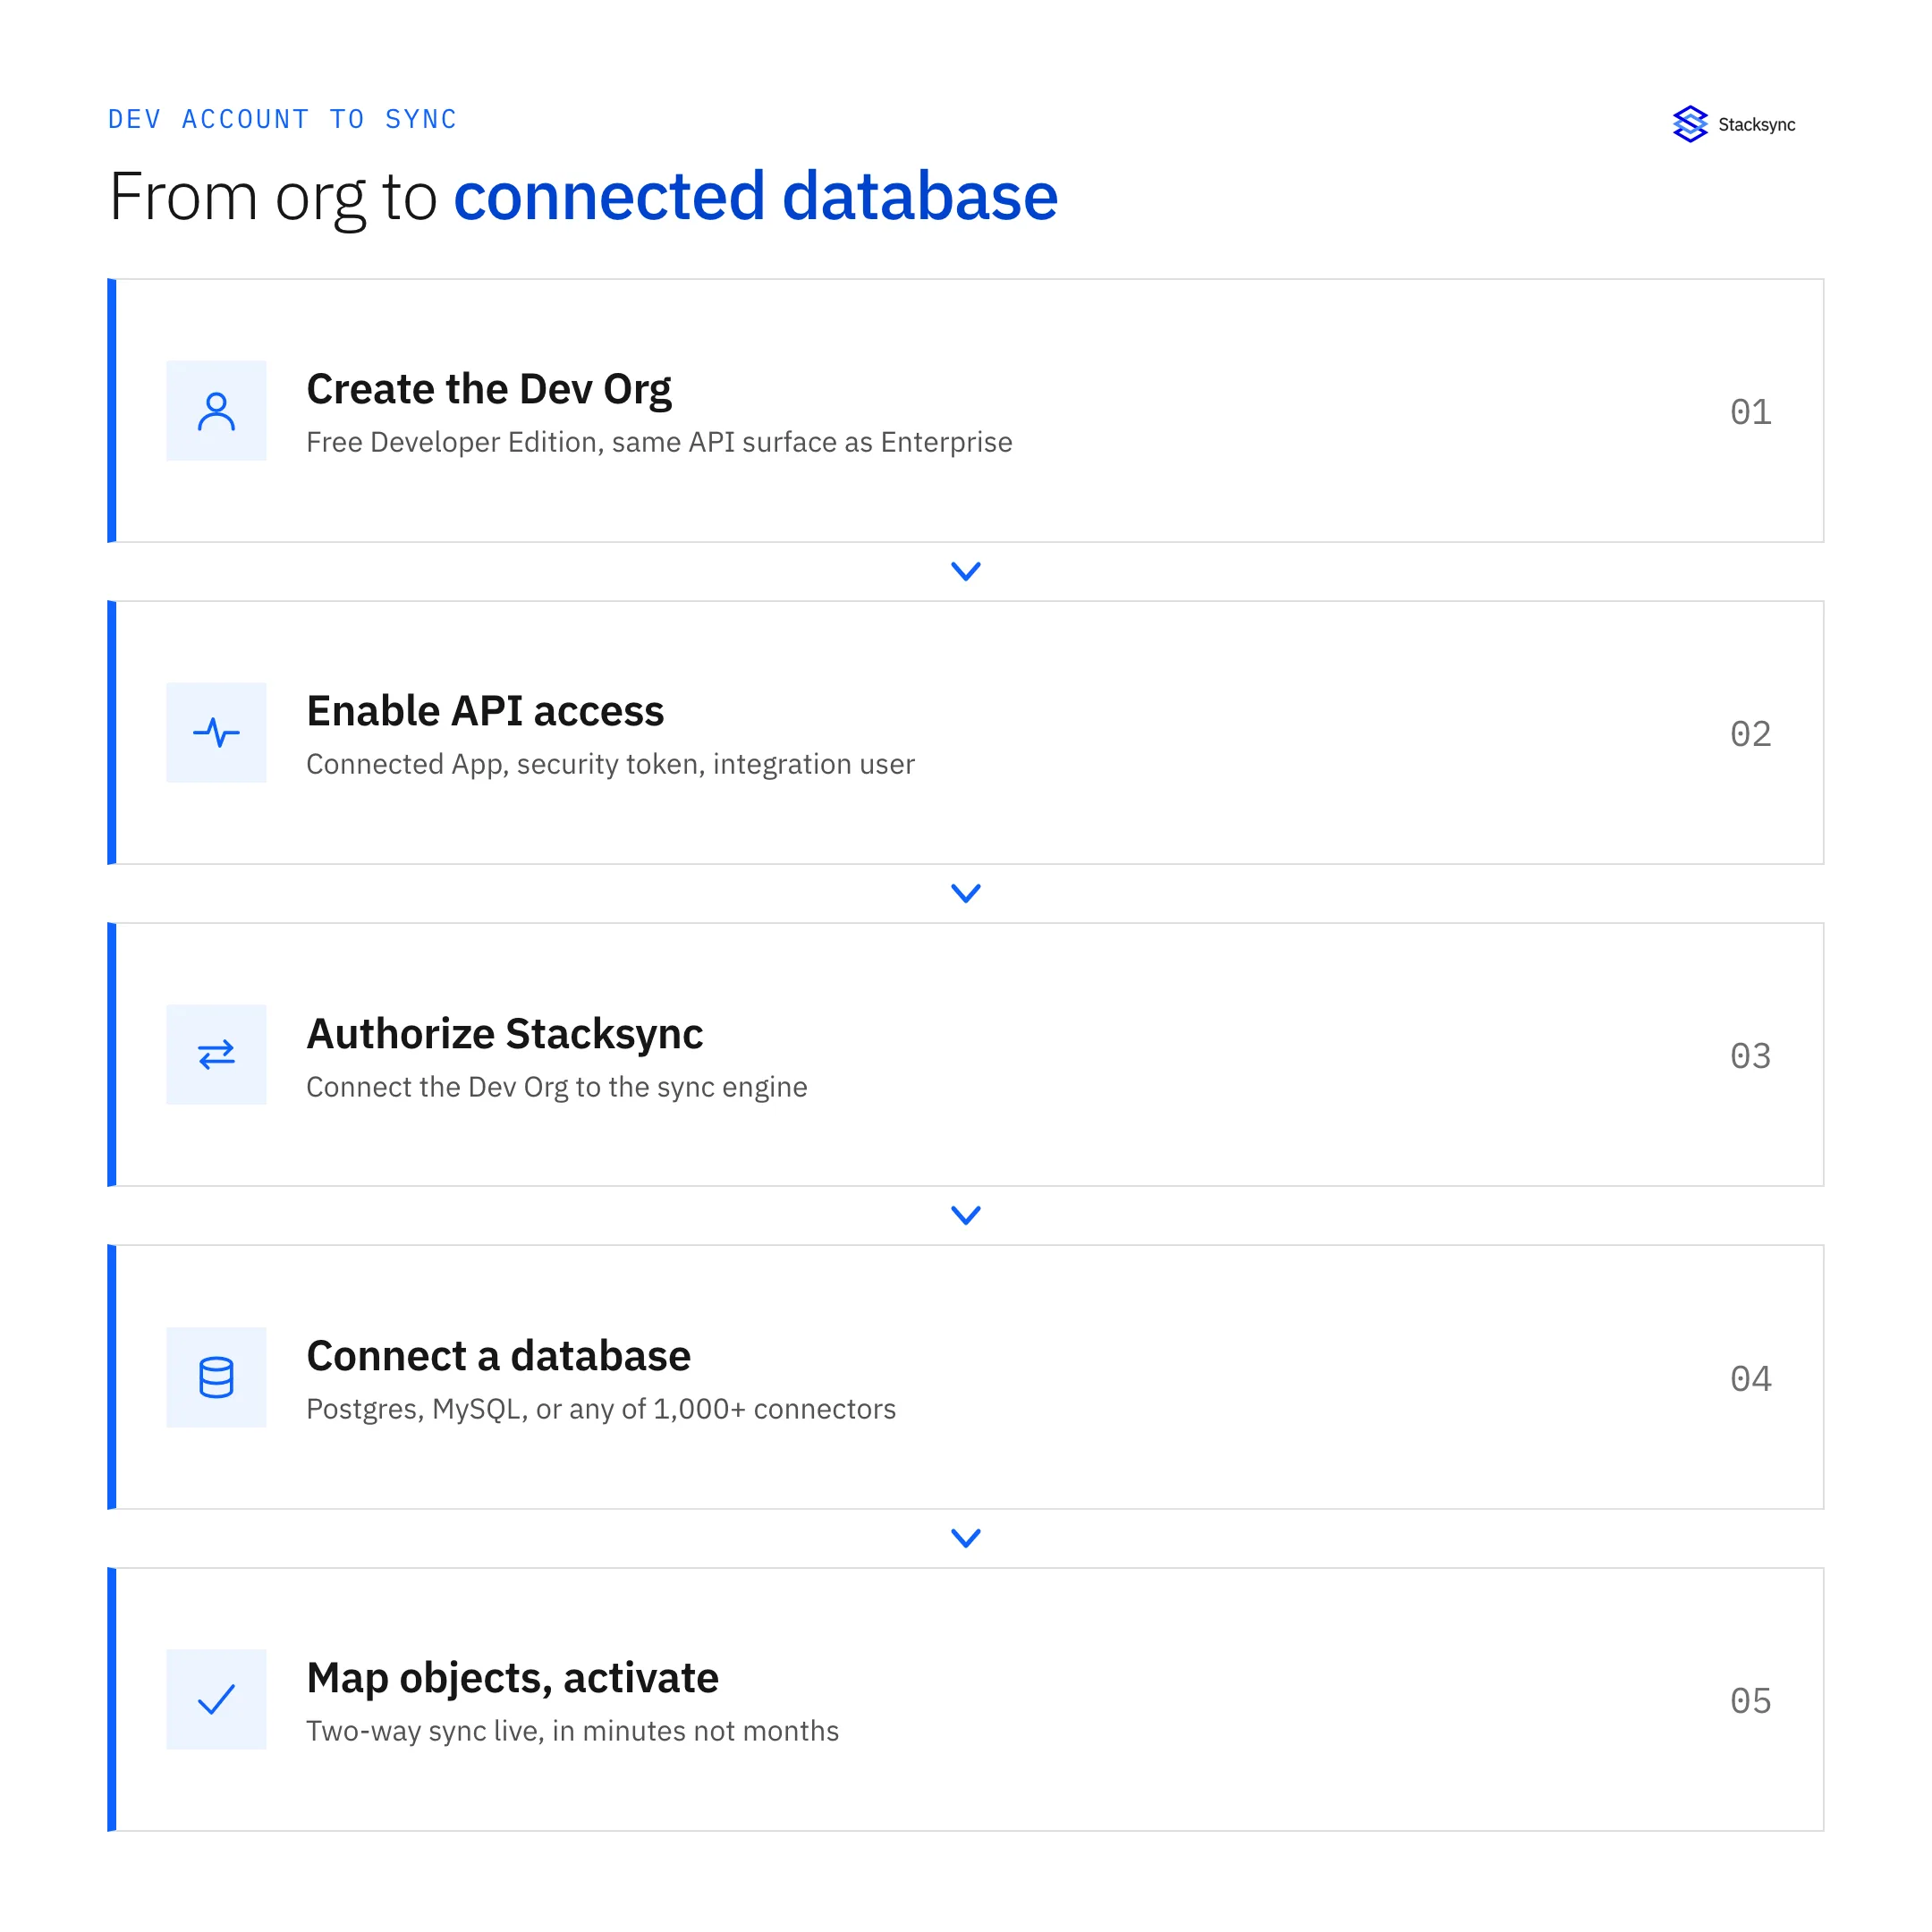
Now that you have a Salesforce developer account, connecting it to a database is the next logical step. Stacksync is a low-code platform for real-time, two-way data synchronization, and setup is a three-step process.
- 01Authorize Stacksync against your Dev OrgCreate a dedicated integration user in Salesforce (a security best practice) and connect it in Stacksync.
- 02Connect your databaseStacksync supports 1,000+ connectors. For a popular developer choice like Postgres, you provide connection credentials and Stacksync establishes a secure link.
- 03Map objects and activateMap Salesforce objects (Account, Contact, or custom objects) to database tables, existing or auto-created, then turn the sync on.
Key features that matter once the sync is live:
- Real-Time Speed: changes propagate between systems in milliseconds, not on a batch schedule.
- Smart API Management: Stacksync handles Salesforce API rate limits automatically, so a sync never silently breaks because it hit a daily quota.
- Issue Management Dashboard: surfaces sync failures before they become a data-integrity problem.
Real-World Result: ACERTUS Cut Integration Costs 80%
ACERTUS, a vehicle logistics company, was paying $2,500 to $3,000 per month for Heroku Connect and still hitting reliability issues syncing Salesforce with NetSuite and Snowflake. After switching to Stacksync, they consolidated onto one platform, saved over $30,000 a year in direct costs, and cut engineering maintenance time by roughly 80%.
Conclusion: Start Building Your Connected Enterprise
Setting up a Salesforce developer account is free and takes a few minutes. It gives you a safe environment to test API and low-code integrations without touching live data, and if you need it in CI, a Dev Hub plus the Salesforce CLI gets you scriptable scratch orgs instead.
Once your org is ready, connecting it to a database with a modern, low-code integration platform like Stacksync takes minutes, not months, and frees your engineering team to focus on things a sync platform cannot do for you.

FAQ
Frequently asked questions




Related articles


